How to Turn a Hand-Drawn Motif into a Seamless Repeat Pattern
You have a page of drawings — a sprig of rosemary, a wobbly star, a bird you're pleased with — and you'd like them on fabric, wallpaper or a card. Turning one motif into a seamless repeat comes down to three things: a clean scan, a tile size that suits the final scale, and the habit of checking the joins instead of hoping they'll be fine. Here is the whole route, in the order you'll actually work through it.
Draw the motif with the repeat in mind
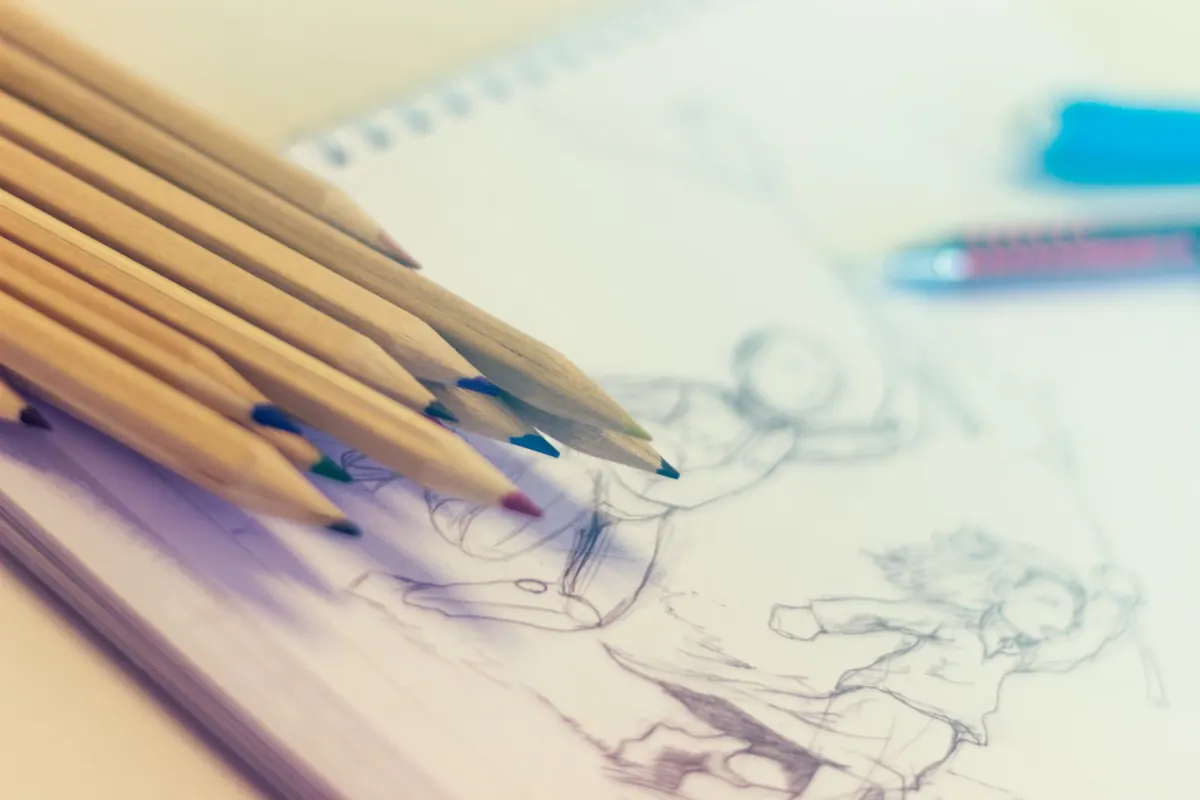
You can repeat almost anything, but some drawings survive the process far more comfortably. Solid black ink on smooth white paper is the easiest starting point: it scans crisply and recolours cleanly later in software. Pencil, watercolour and marker work too, though pencil arrives as soft grey and gives you more edge to manage.
A few habits at the drawing stage save time later:
- Keep the silhouette readable. Fine gaps and thin cross-hatching close up at small print sizes and turn into grey mush.
- Draw larger than you think you need. A motif 4 cm across, scanned at 600 dpi, gives you roughly 950 pixels of detail to work with.
- Leave white space around the drawing. If a leaf runs off the edge of the paper, you'll be inventing the missing part later.
- Draw two or three versions of the shape. A repeat built from one motif alone can look thin, and spares give you something to fill gaps with.
Scan it properly the first time
Set the scanner to 600 dpi and greyscale, or line art if your drawing is pure black ink. Turn off auto colour correction and auto sharpening; both will fight you later. Slip a plain sheet of paper behind a thin original and check the lid sits flat.
Without a scanner, a phone works if you're careful. Lay the paper on a flat surface, light it from the side so your shadow falls away from the drawing, and hold the phone directly above rather than at an angle. Any perspective distortion you introduce now has to be corrected by hand further down the line.
Zoom into the scan at 100% before you start cleaning. Rescanning a crooked or blurry image is far easier than rescuing one.
Clean up the scan
Levels first, threshold second
Pull the white point and black point in with the Levels tool until the paper reads as pure white and the ink as solid black. That single adjustment removes most of the grey haze left by a scanner or a phone camera. With ink, follow it with a threshold adjustment so every pixel becomes either black or white and the edges turn crisp. If your drawing is pencil, stop at Levels and add contrast instead. A hard threshold on soft pencil destroys the very texture that made the drawing worth keeping.
Then deal with the dust
Erase stray specks with a hard-edged brush at 200–300% zoom. Leave the slightly irregular edges of your lines alone — that wobble is the hand in hand-drawn, and a repeat full of mechanically perfect lines looks like cheap clip art.
Build the tile with the offset method
A seam appears wherever the edges of your tile meet. The offset method moves that join into the middle of the canvas, where you can see it and fix it.
- Make a square canvas. Around 2000 × 2000 pixels suits most motifs; you can resize the finished tile later.
- Place the cleaned motif on its own layer, sitting off-centre rather than dead in the middle.
- Run Offset (Filter > Other > Offset in Photoshop, Filters > Distort > Offset in Affinity Photo) with wrap-around enabled, shifting by exactly half the canvas width and half the canvas height.
- The motif now appears in four quarters at the corners, with the seam running straight through the centre. Fill that central gap with something — a second version of the shape, a smaller leaf, a cluster of dots — so the four quarters read as one new form.
- Flatten the image and run the same offset again to confirm the new join is clean.
Step back from the screen and look at the tile from a metre away, then squint. Faults that are invisible at 200% zoom show up immediately at thumbnail size.
Test the repeat before you commit
Duplicate the tile into a three-by-three grid and look at the whole thing. Photoshop's Pattern Preview — or defining the tile as a pattern and filling a large canvas — does the same job faster. Check for three problems: an obvious diagonal, where a strong line of motifs marches across the design; clumping, where two motifs land close enough to read as one; and a rhythm that looks accidental rather than deliberate.
If the grid feels too rigid, change the repeat type. A half-drop repeat shifts every other column down by 50%, breaking the horizontal lines without any extra drawing. A brick repeat shifts every other row sideways by half. Both hide awkward joins better than a straightforward block repeat and take seconds to set up.
When the repeat misbehaves
- A visible seam. Almost always a soft brush edge, a background that isn't uniformly white, or compression artefacts from a JPEG. Work on a clean flattened layer and save as PNG or TIFF.
- One heavy focal point. The motif is too large relative to the tile. Enlarge the canvas or shrink the motif.
- A thin, lifeless repeat. The opposite problem. Add a second small element to the tile and check again.
- Blocky edges in print. The tile is too small. Work out your target print size and build the tile at 300 dpi for that size before you begin.
Keep the master file useful
Save a layered master before you export anything: the cleaned motif on one layer, the completed tile on another, spare elements parked off to the side. Repeats get reworked — the motif smaller, a different colourway, more breathing room between shapes — and keeping the components separate turns a redraw into a ten-minute job.
Export a flat PNG at the tile's exact pixel dimensions and keep the layered version as your working file. Put the repeat type and tile size in the file name, so half-drop-2000px.png still tells you what you need a year from now. Then print a small swatch at final size and look at it in daylight before committing the design to fabric, wallpaper or a print run. A repeat that works on screen can look crowded on a cushion, and the swatch is a cheap way to find out.
Photo: Javier Gonzalez / Pexels
You Might Also Like
A practical guide to re-engineering one repeat so it works at stationery and furnishing scale. Keep the rhythm, redraw the detail.
How digital and screen printing compare for a first fabric run — setup costs, minimums, colour limits and hand feel, plus the questions to ask before you commit.